Fixed asset management is a critical function for any organization that owns physical assets. From office equipment to heavy machinery, keeping track of assets ensures accurate financial reporting, efficient operations, and prevents asset loss or theft. One of the most effective ways to manage these assets is through fixed asset tagging.
In this guide, we’ll walk you through A Step-by-Step Guide to Fixed Asset Tagging for Businesses, ensuring better tracking and management.
What is Fixed Asset Tagging?
Fixed asset tagging involves labeling assets with a unique identification tag, typically containing a barcode or serial number. This helps businesses easily track, verify, and manage assets throughout their lifecycle — from acquisition to disposal.
If you’re new to asset tagging, you might want to check out our article on The Importance of Fixed Asset Verification for Businesses (internal link) to see how it fits into the broader asset management strategy.
Why is Asset Tagging Important?
-
Improved Asset Tracking
-
Simplified Audits and Reporting
-
Reduced Loss and Theft
-
Enhanced Regulatory Compliance
-
Accurate Asset Valuation
According to a report by Asset Panda, businesses that implement asset tagging reduce asset-related losses by up to 25%.
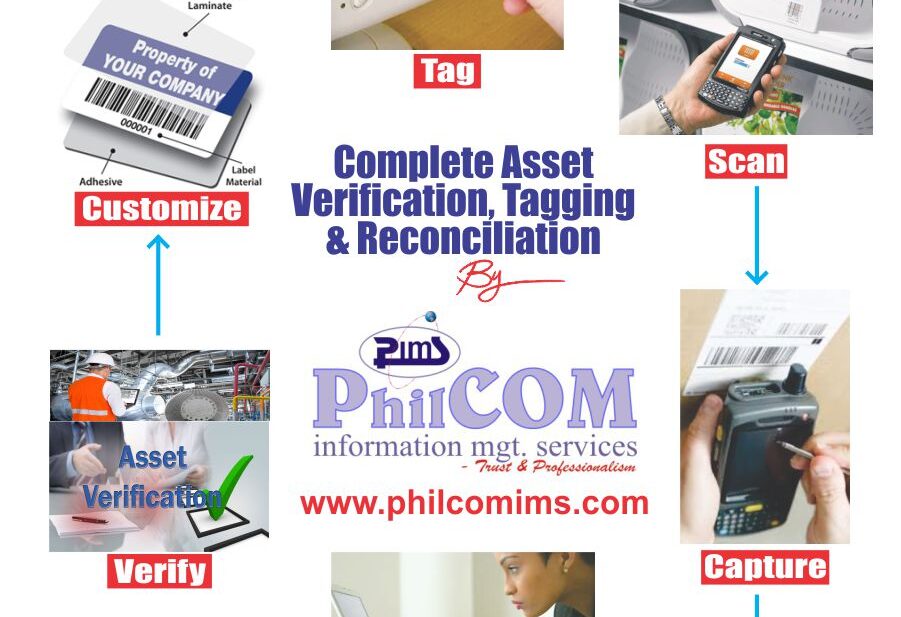
Step-by-Step Guide to Asset Tagging
Step 1: Prepare an Asset Register
Start by compiling a comprehensive asset register that lists every asset your organization owns. Include details like:
-
Asset Name
-
Description
-
Location
-
Department
-
Purchase Date & Cost
-
Current Condition
You can download a free Excel-based asset register template from Smartsheet.
Step 2: Choose the Right Type of Asset Tag
Select asset tags based on the environment and usage:
-
Polyester Barcode Labels for indoor office equipment
-
Metal (Anodized Aluminium) Tags for heavy-duty industrial assets
-
Tamper-Evident Labels for high-security items
At Philcom IMS, we supply a range of customized barcoded asset tags tailored for different applications.
Step 3: Assign Unique Identification Numbers
Assign a unique ID or barcode to each asset, linking it to the asset register. This prevents duplication and ensures accurate tracking during audits and stock counts.
Step 4: Physically Attach the Tags
Place each tag on a clean, visible, and durable part of the asset. For example:
-
Laptops: back panel
-
Machinery: side frame
-
Office chairs: underside of the seat
Use barcode scanners to test the readability after attachment.
Step 5: Update Your Asset Management System
Record the unique ID, tag location, and other relevant data into your fixed asset management software or Excel-based system. Regularly update this database during acquisitions, disposals, and audits.
Consider consulting our Fixed Asset Management Solutions page for digital tools and services designed to streamline this process (internal link).
Step 6: Train Your Staff
Ensure relevant personnel are trained on:
-
How to scan asset tags
-
How to update asset information
-
How to conduct periodic verification
We offer corporate Excel training programs tailored for asset managers and finance teams.
Final Thoughts
Asset tagging is an indispensable practice for businesses looking to secure their physical assets, streamline operations, and remain audit-compliant. By following these steps, you can establish a structured, reliable, and scalable asset management system for your organization.
Recommended Reading
Need Expert Help?
Philcom Information Management Services specializes in asset verification, tagging, and asset register reconciliation services across Nigeria and West Africa. Contact us today to request a quote or consultation.